

Now, I'll admit that this is not going to be the most beautiful post in the world because: a) the photos aren't that great b) I don't have step-by-step photos and c) I made this cake in 2010, so this is entirely from memory. I PROOOOOMIIIIIISSSEEE all my future tutorials will be much better documented and I will include prices of the materials, as well.
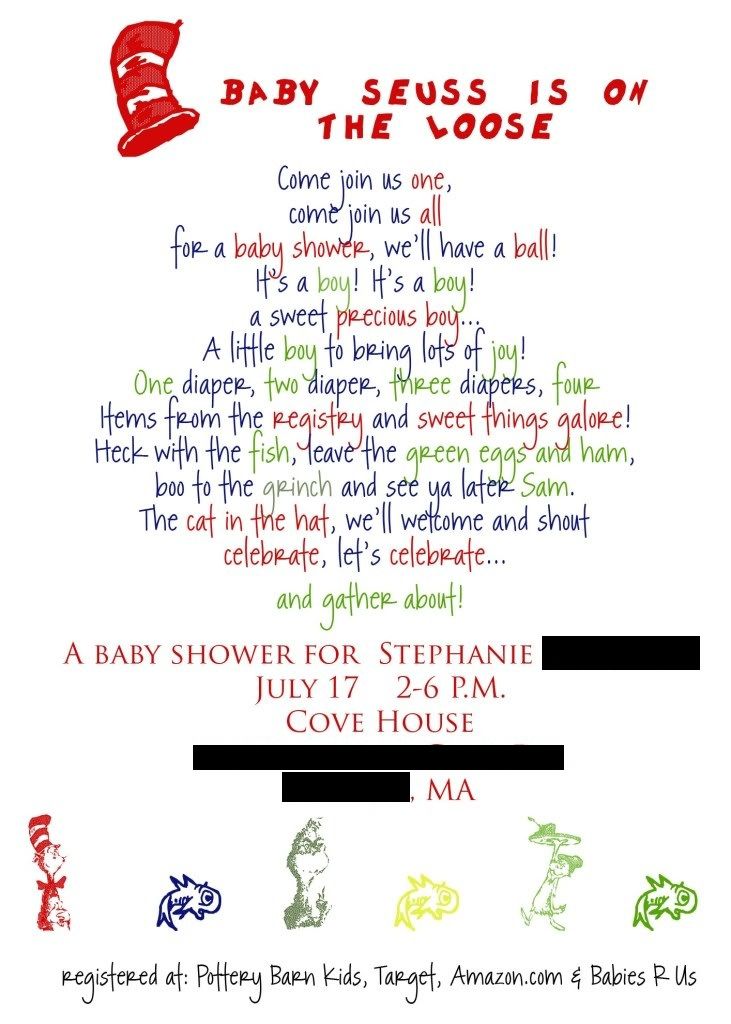
In 2010, I helped host a really awesome Dr. Seuss baby shower for my sister-in-law-to-be, Stephanie. It all started with an invitation that I saw on Etsy made by Joylizsage. I highly recommend this vendor if you're looking for beautiful, handmade paper products! She was wonderful to work with and so sweet. Also, she came up with a great solution to help cut costs: she sent me a .pdf file of the RSVP cards and invites and I printed them out at Staples! I also jazzed up the invites with a little ribbon left over from the diaper cake and used store-bought yellow envelopes. Mommy was so impressed with the invites for her shower that she used Joylizsage to make her birth announcements!
The party was awesome! Steph's sister made adorable centerpieces with chocolate lollipops that showcased Dr. Seuss books (e.g. a fishbowl with blue sand and fish-shaped lollipops for "One fish, Two fish"). We found these great Dr. Seuss cut-outs at Michael's and put them all over the walls and doors. There was a Lorax peeking around a window, and Thing 1 and Thing 2 played on a wall over by the wine. Steph's mom made a cute ABC block cake. I made "Thing 1 and Thing 2" chocolate cupcakes, "Green eggs and ham" lime cupcakes, and "Horton Hears a Who!" pink vanilla cupcakes with pink coconut topping. The cupcakes were an idea from Kara's Party Ideas (I love her blog). We also played a game of Dr. Seuss mad libs and "Guess how many fish are in the baby bottle?" And of course, the biggest draw was my Dr. Seuss diaper cake -- I was pretty proud of my first diaper cake ever. The worst part of the day was that it was one of the most humid and hot days of the summer! If you've ever been to Massachusetts in the summer, you know what I'm talking about. It was like trying to breathe in hot pea soup. It's a miracle all those chocolate centerpieces didn't melt into a puddle on every table! But, despite the heat, we all enjoyed ourselves and left with great memories.

You are going to need:
For a 3-tier cake:
- 2 baby bottles (I like the old-school, straight kind. Make sure you get BPA-free if Mommy is going to re-use them!)
- 2 or 3 bags of newborn diapers (I bought 2 sizes (1s and 2s) from Target)
- Clear elastic bands (get those in the Hair supplies aisle)
- A few yards of various ribbons in the colors of your choice
- Stuffed animals of your choice
- Whatever little trinkets you'd like to hide in the cake! I used 7 onesies, diaper rash cream, baby wash, and 2 packs of wipes (get unscented since most moms won't object to these). Other great ideas: burp cloths, little books, little socks.. the possibilities are endless!
- A large round tray to sit the cake on
- Tape
- Scissors
- Hot glue or any sort of clear glue for fabric (glue dots work well, too!)
- Rubber bands of varying sizes (you're going to need 2 really big ones for the tiers, minus the top tier)
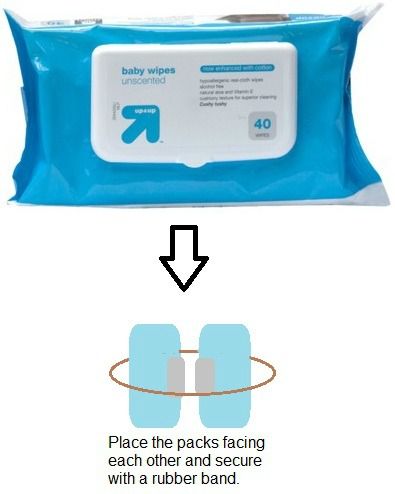
The entire cake is shaped using what I call the "candlestick method." For the bottom tier, I hid 2 soft-packs of baby wipes that I placed side-by-side.
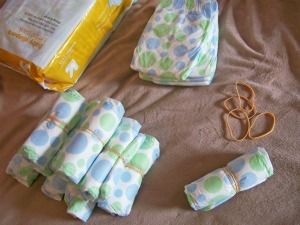
Next, take your diapers and start rolling! You're going to roll from the bottom (crotch) end to the top, making a sort of cigar shape. Secure with a rubber band in the center.
Once you're done rolling your diapers, it's time to assemble. I filled my baby bottles with M&M's because it looks cute and mommy gets a little treat with her cake, but also to help give them some heft. On the bottom layer, place a rubber band around your "candlestick" (either a baby bottle or your diaper wipes) once. Then, start adding in a layer of diapers. Place them standing up in a circle around the center and fill until you can't fit in anymore. I wouldn't suggest putting in 2 layers in the bottom tier since they won't be attached securely and the cake can easily fall apart. Put an elastic band around each layer and circle out until you get to 4 or 5 layers deep.
Place your second tier on top in the same way, only stop short a couple layers to make it slightly smaller. If you don't have anything to hide in the center of this layer, create your "candlestick" with a few diapers banded together in a bundle. On this layer, I "hid" some onesies. I say "hid" because they were really in plain sight, but I had rolled them around a diaper so that it matched the shape of the cake. In the front, remove one of your rolled diapers and wrap a onesie around it. Slip it back into the space you left in the layer. Keep adding onesies until you get the look you are going after or until you've run out of onesies to add!
On the third layer, get your baby bottle to create your "candlestick." Go ahead and make your layers again, once again stopping short of a couple layers from the previous tier to make this tier smaller. The baby bottle will be sticking out the top a little bit, but that's to your advantage! On my cake, I put a great Cat in the Hat puppet I found on eBay on top. The bottle and a few diapers are actually INSIDE the hole of the puppet and I tucked the edges of the puppet inside the layer to make it look neater. If you look at the bottom layer of the cake, you'll notice I placed a bottle of baby wash and some diaper cream which were too big to hide in the cake itself. I removed some diapers to make room for those items. Those displaced diapers made their way to the top tier where I used them to anchor the puppet and fill it out. My second baby bottle was placed between some diapers for a little visual interest.
To measure how much ribbon you need, I literally just wrapped it around each layer and cut, leaving about an inch of overlap. I then folded over the top overlap, folding the raggedly edge of the ribbon in and hot glued the ribbon to itself to secure. I repeated that step for each layer of ribbon. For the bows, I tied a bow out of french-edge ribbon (the kind with wire in it) and hot glued it to the band around the diapers. For a little pop, I hot glued a contrasting color bow on top of the knot of each big bow and alternated styles on the layers. Finally, I had some left over sparkly fish stickers from the little fishbowl floating light candles I made and I glued them on top to cover all the messy glued-up bow knots. You could use buttons, gems, crystals, little figures -- whatever your heart desires!
As a final touch, I printed out a little poem I wrote about the diaper cake in a Seuss-y font found on Dafont ("Grinched" and "Dr.Seuss"). I glue sticked the poem to a construction paper background, ran some leftover ribbon through the corner and tied it to the baby bottle the Cat in the Hat was guarding on the top!
One diaper,
Two diapers,
Three diapers,
Four:
Inside this cake, you'll find diapers galore!
White are for Newborns and the dots are Size one.
Plenty of ways to cover your new precious son!
But, wait -- just wait! There's more here than that!
Inside you'll find onesies, bottles, and a Cat in the Hat!
Oh, the options within!
Oh, the surprises you'll find!
There's fun in a cake of diapers on which you can't dine!
With love and wishes and a lack of Grinches,
(Auntie) Elizabeth
Success!
Have you made any diaper cakes? Let me know your technique in the comments!
Hugs and fishes,

No comments:
Post a Comment